A strong product ad gives viewers something clear to notice: a distinctive shape, an appealing finish, or a feature in action. With MiniMax H3 product ads, you can turn prepared product photos into a short video with directed movement and sound.
This guide takes you from the initial brief to final review. A fictional matte-blue rechargeable table lamp provides the running example; the prompts and storyboard are suggested starting points, not a completed video test.
TL;DR: Create MiniMax H3 Product Ads
Choose one product, one main message, and a suitable publishing format.
Prepare separate references for the overall product, an important detail, and the ending.
Describe movement and timing explicitly; attractive images alone do not define a video.
Keep copy concise, give viewers time to read it, and check product accuracy before publishing.
Try MiniMax H3 Generator Online
Step 1: Check Your Product Images and Confirm the Brief
Start with a product you can describe accurately.
Check the Product Facts
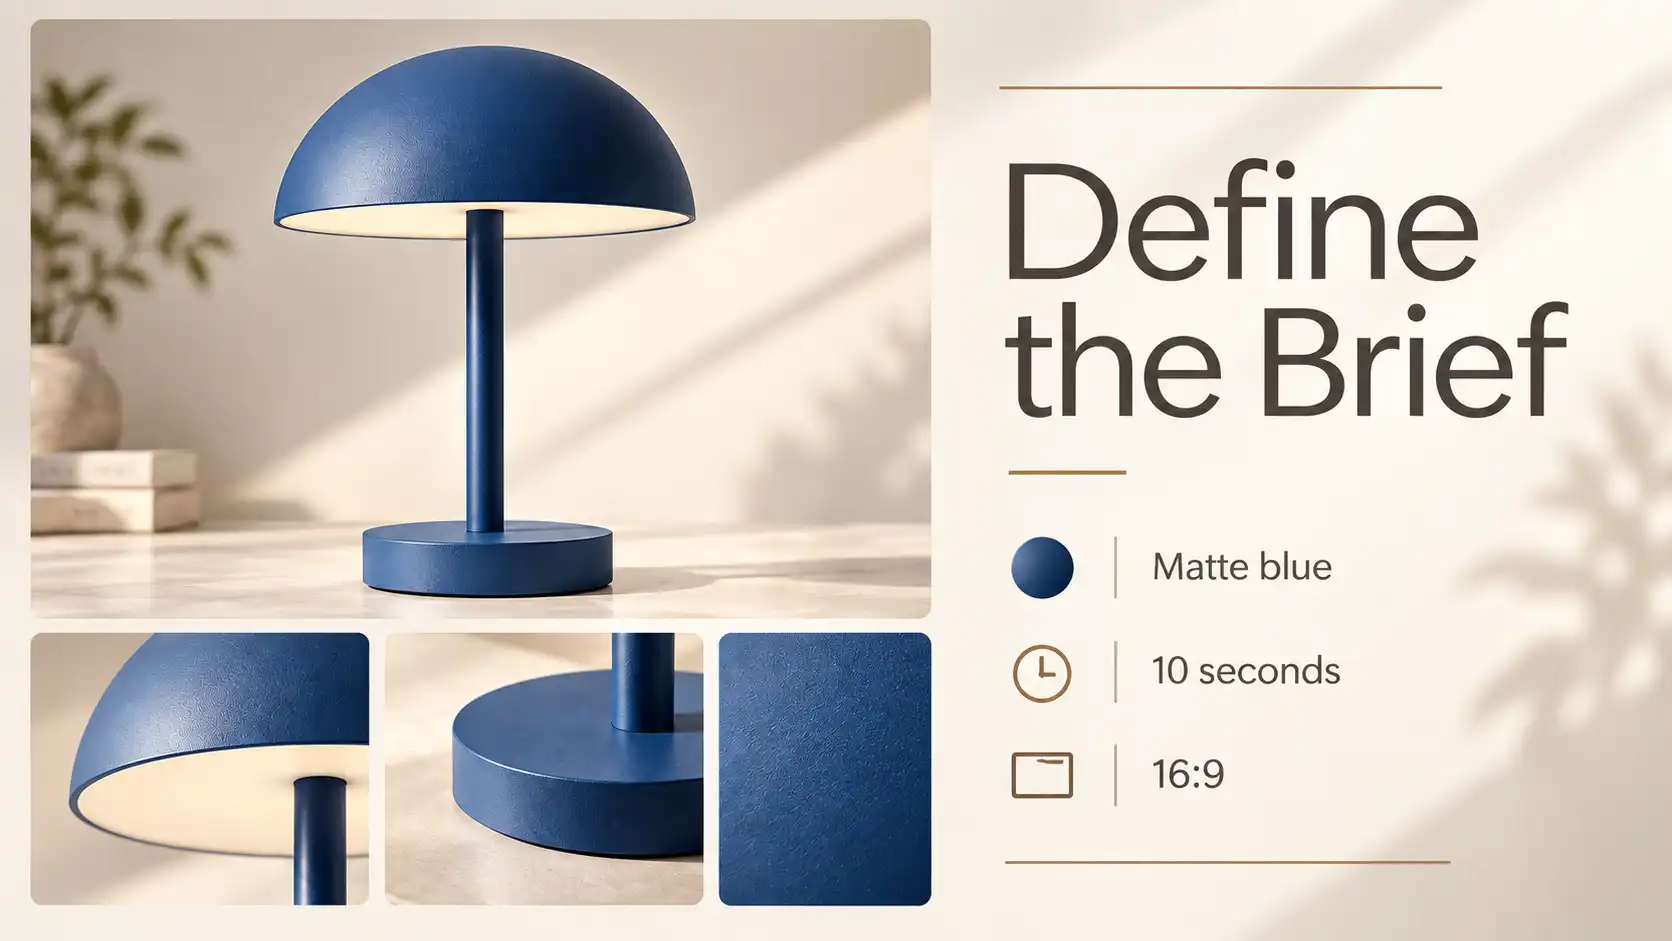
Gather a sharp main photo and any detail views needed for the action you want to show. For our lamp example, that means a three-quarter view, the shade and stem connection, and a view of the illuminated lamp.
Record the actual color, finish, proportions, and controls. If the ad will show a button press, make sure you know where the button is. A single front-facing photograph cannot reliably explain a hidden hinge or charging port.
Replace heavily blurred or obstructed images before creating an AI product video from an image. Keep a copy of the original photo for later comparison.
Set the Ad Requirements
Write a short brief covering:
main variant
message
duration
aspect ratio
visual style
copy
For example:
Create a 10-second, 16:9 ad for the matte-blue lamp. Show its sculptural shape and warm light in a clean studio setting. Use one product only, no presenter, and a short English closing line.
If several colors are available, choose one lead variant. Additional colors should support the idea rather than compete for attention immediately.
Step 2: Choose a Story That Fits the Product
Give the viewer one reason to keep watching.
Choose the story before selecting individual shots:
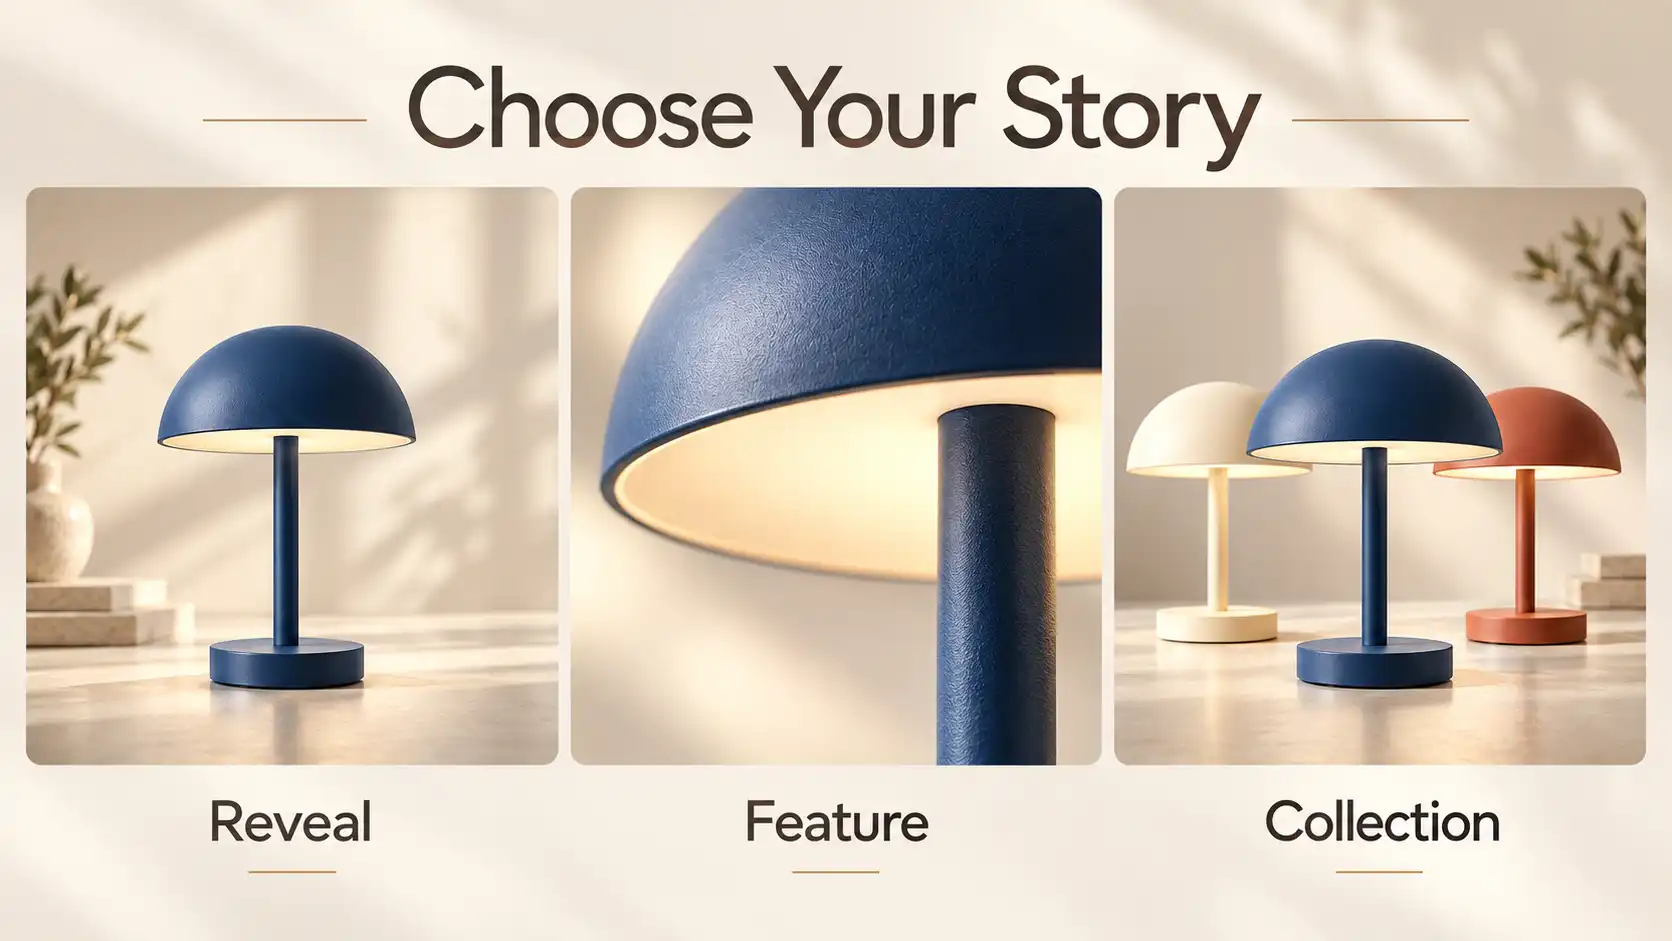
Story | What the viewer sees | Useful for |
Product reveal | The overall design, followed by a closer look | New launches and distinctive shapes |
Feature in action | A visible change with a clear result | Lighting, opening, folding, or docking |
Color collection | A lead product followed by supporting variants | A coordinated product range |
Our lamp combines a simple reveal with one feature: its light turns on. That is enough for the brief. There is no need to add charging, portability, color options, and lifestyle use to the same ten seconds.
For a product launch video, choose what makes the product recognizable.
For a demonstration, choose the action that is easiest to understand visually.
Step 3: Direct the Motion and Visual Rhythm
Use a few clear movements to make the product stand out.
For minimalist product videos, describe the movement precisely and give each moment one main action:
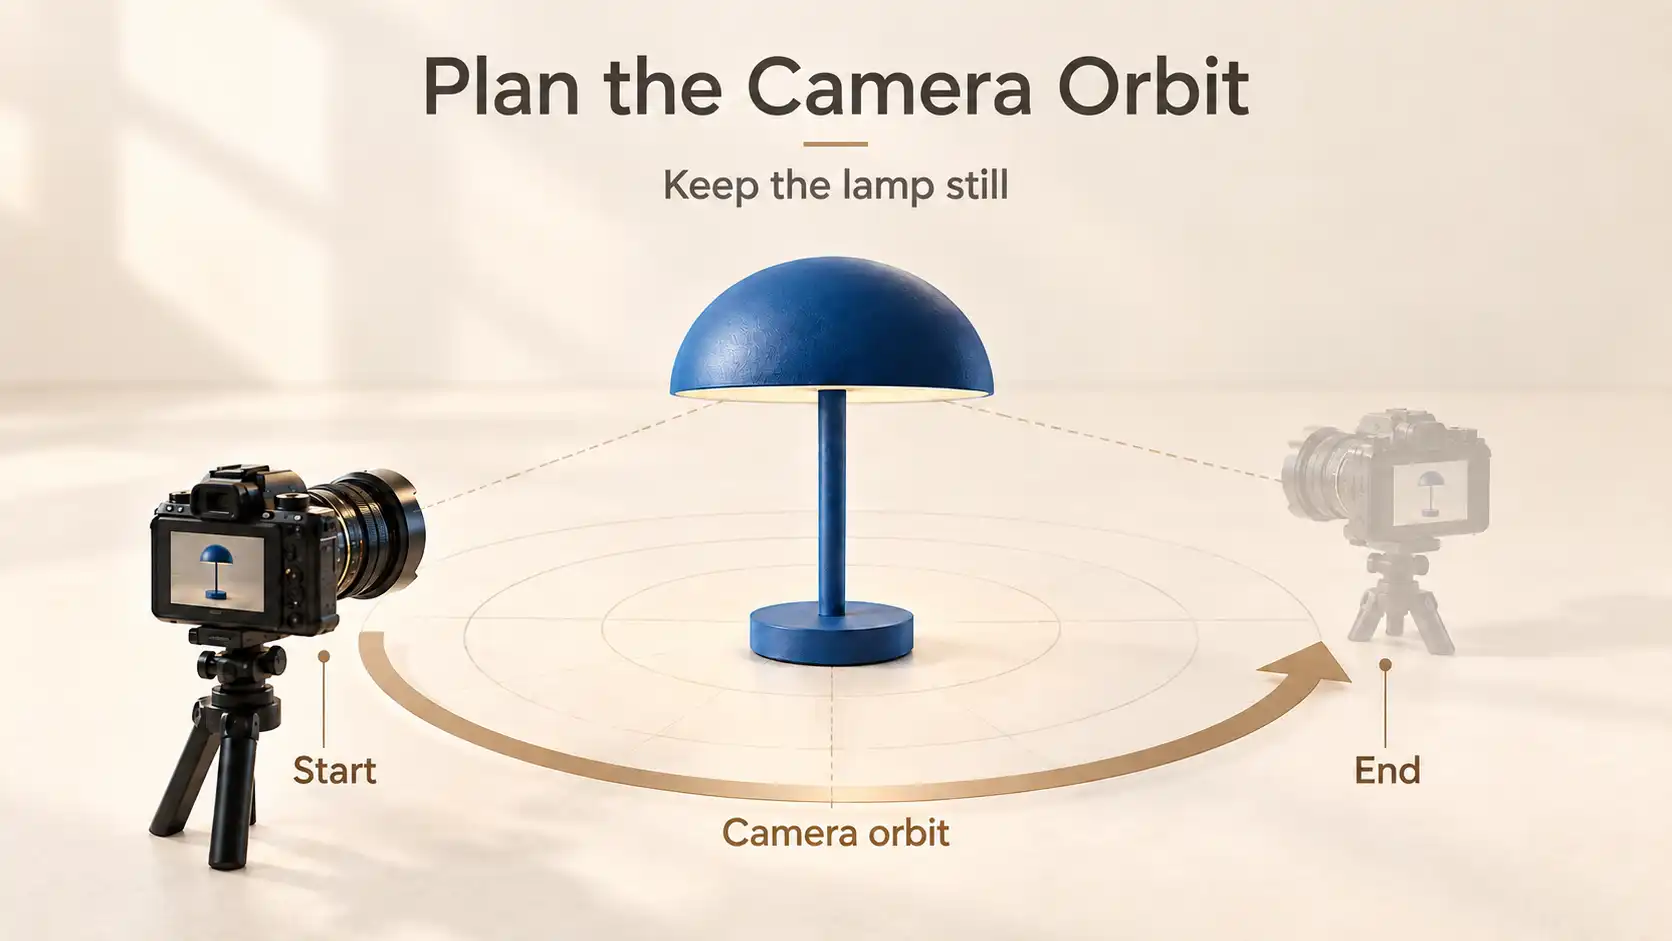
Separate camera motion from product motion. Specify whether the camera moves around a stationary object or the product itself rotates.
Connect shots through a shared detail. Use the same edge, shape, or movement direction to make transitions feel natural.
Alternate movement with stillness. Pause after an important action so viewers can notice the result. Keep the ending steady for the final message.
For the lamp, a simple sequence is enough: the camera moves around the stationary lamp, settles on the shade, then the warm light turns on. Return to a clear full-product view and hold.
Step 4: Write Short On-Screen Copy
Give the viewer one message they can read at a glance.
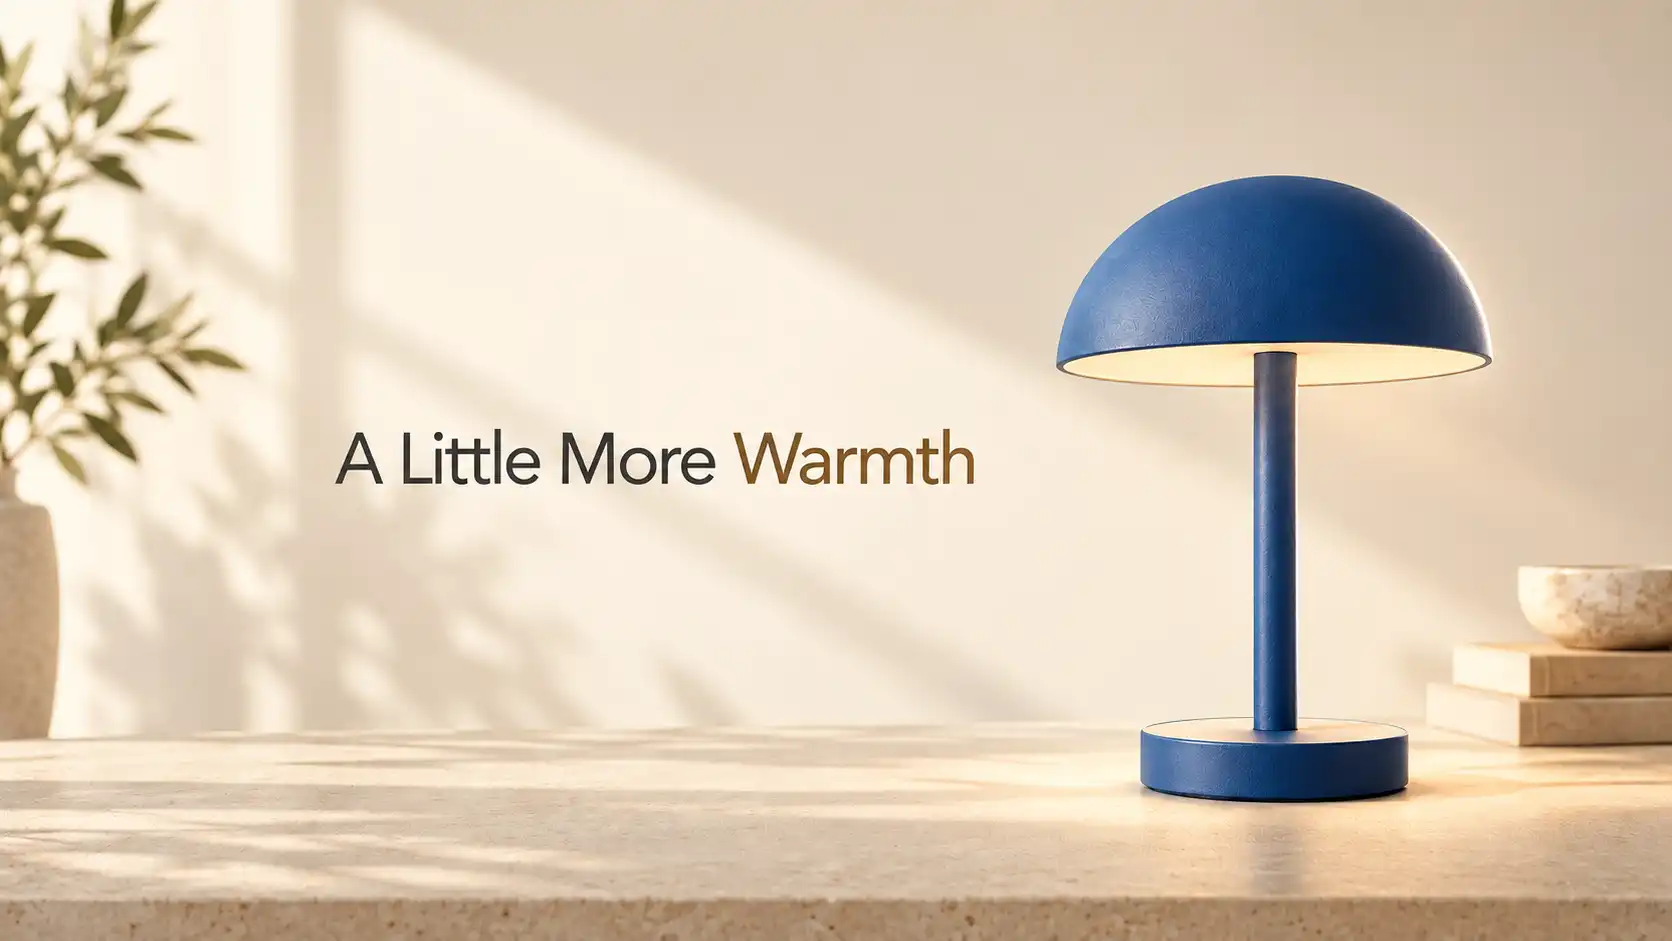
For AI product ad copy, focus on a visible benefit or feeling rather than listing specifications:
Start with three to five words. Use natural language and avoid claims the product information cannot support.
Show one line at a time. State the exact wording and when it should appear.
Keep placement and contrast clear. Position text in open space without covering the product. Use one neutral color and, optionally, the product color for emphasis.
Keep text motion subtle. A gentle fade or slide is enough. Let the complete line remain still long enough to read.
For the lamp, use “A Little More Warmth.” Place it beside the illuminated product, with dark-gray text and “Warmth” in blue. Fade it in during the closing shot and hold it through the ending.
Step 5: Prepare Three Independent Reference Images
Use images to establish appearance before asking for movement.
Three useful reference roles are the main product view, a relevant detail, and a closing composition. This preparation approach is informed by MiniMax product-ad workflow.
Hero Reference: Define the Main View
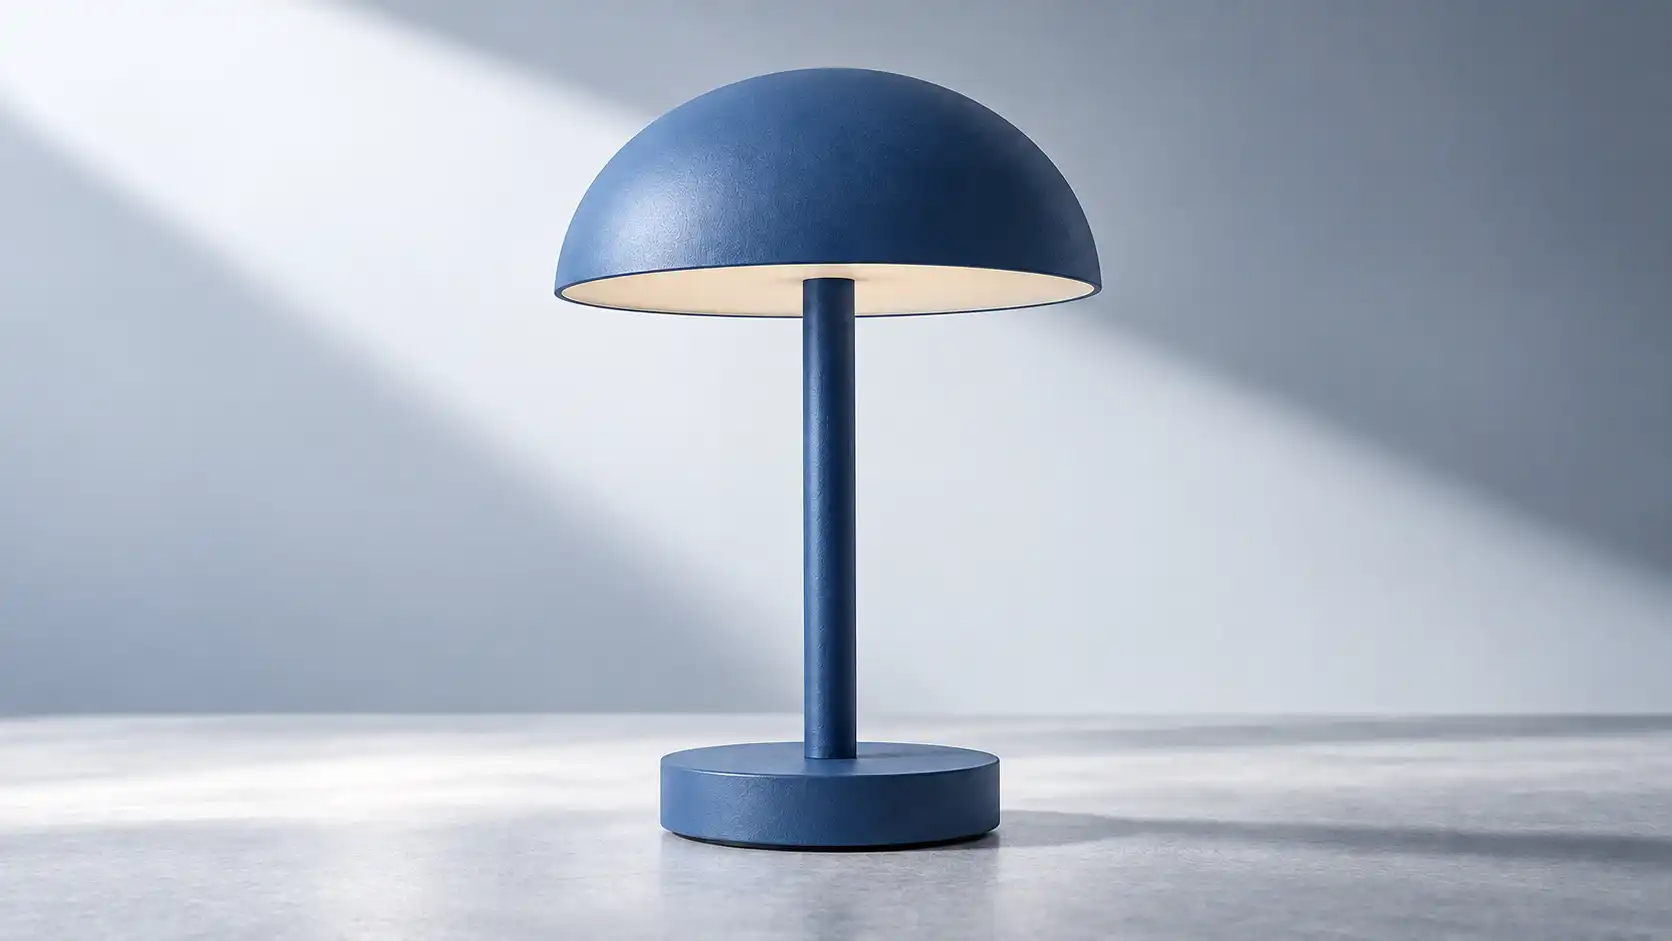
Prepare the matte-blue lamp against the chosen studio background. Show the whole product at a flattering angle, with the base and shade fully visible.
Check that the composition still works at a small preview size. If the stem disappears into the background, adjust the lighting or framing before proceeding.
Detail Reference: Show Material or Function
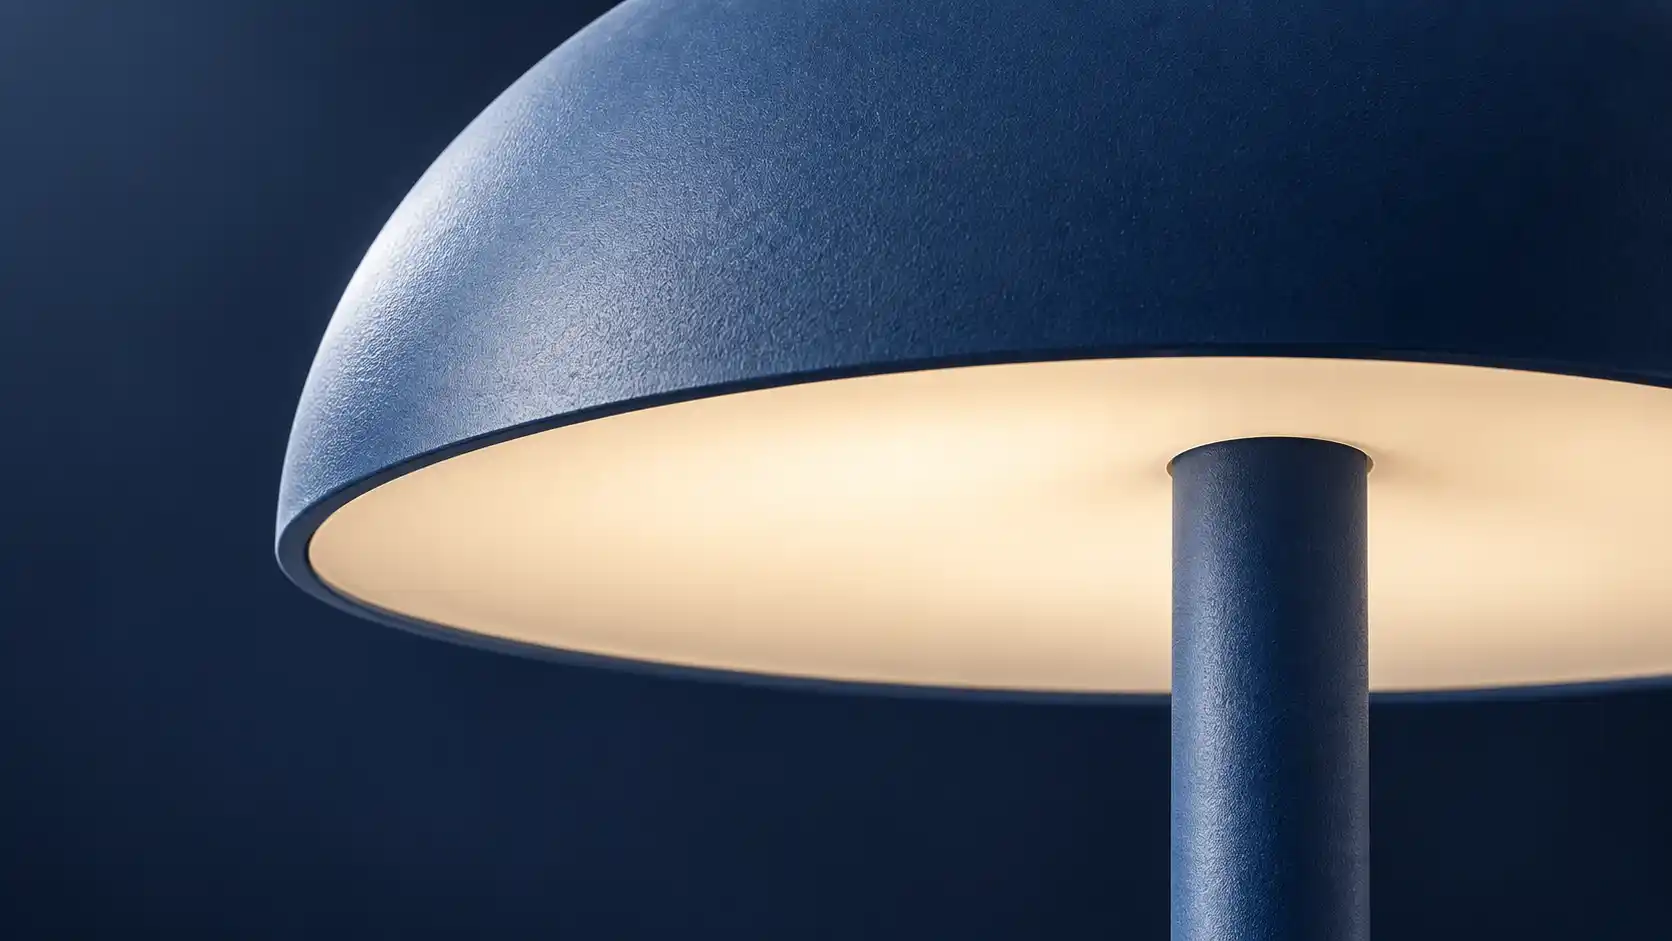
Use a closer view of the shade, its finish, and the light-emitting area. Include only details that matter to this ad.
Avoid manufacturing an underside or internal mechanism that is absent from the source material. A simpler accurate view is more useful than an elaborate invented one.
Closing Reference: Set the Final Composition
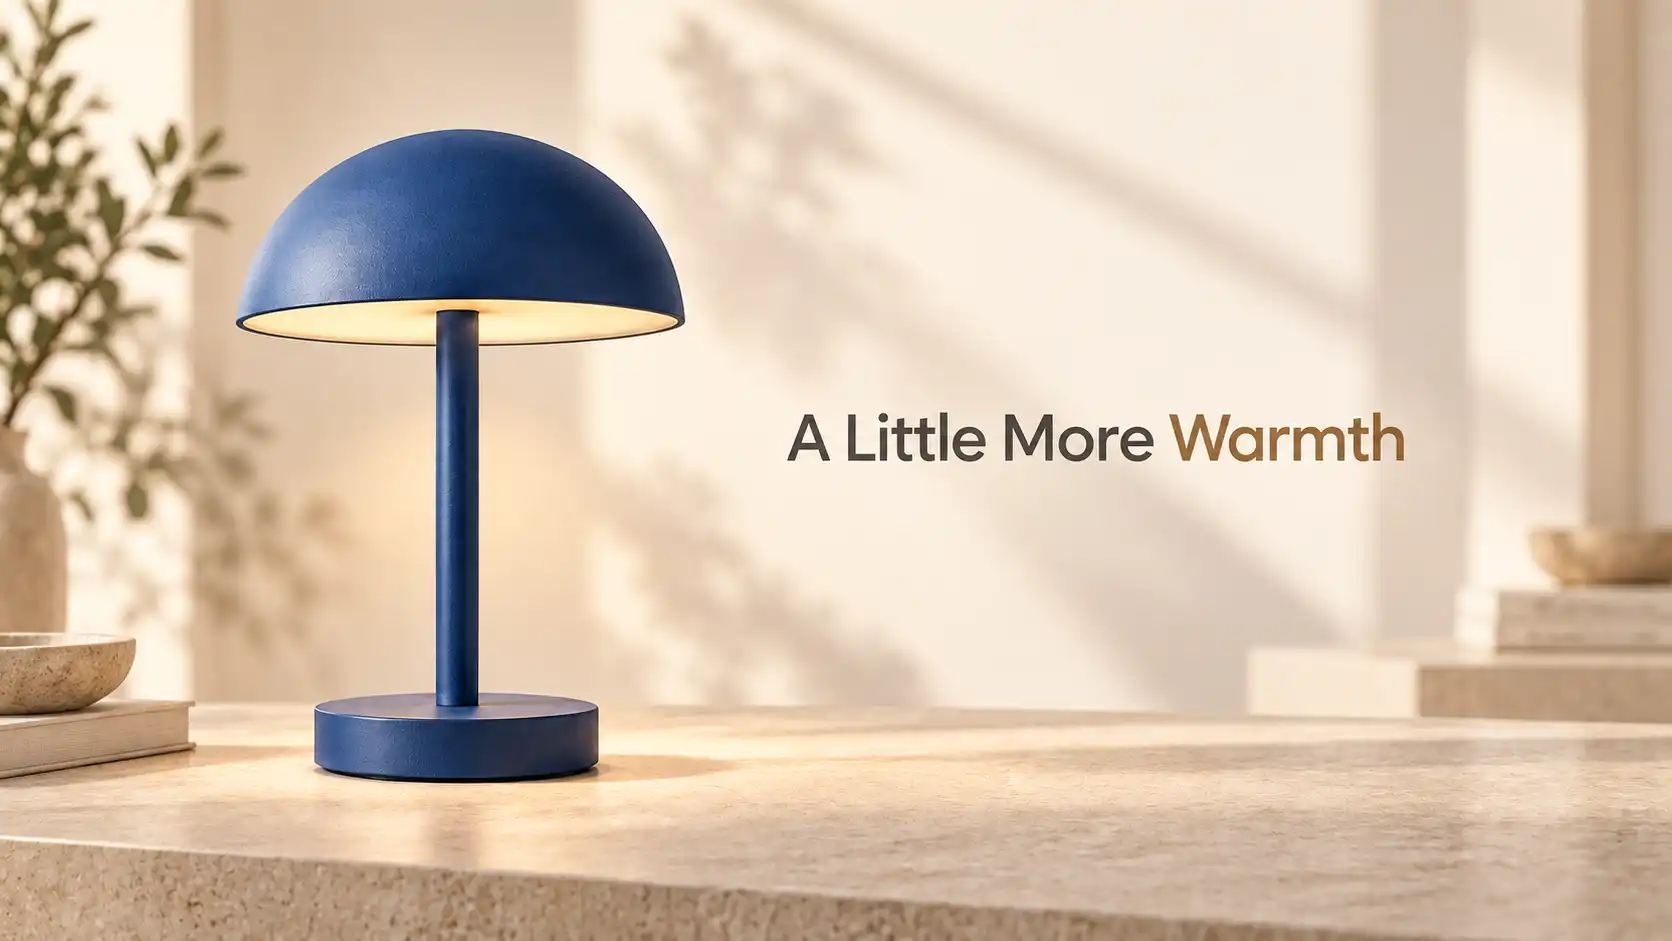
Position the illuminated lamp with room for the approved copy. Prepare the same background and lighting direction as the other images.
Save each reference as its own file. The images define visual targets; the storyboard defines what happens over time. They do not have to become three consecutive frozen shots.
Step 6: Build a Timed Storyboard
Make the order clear before generating.
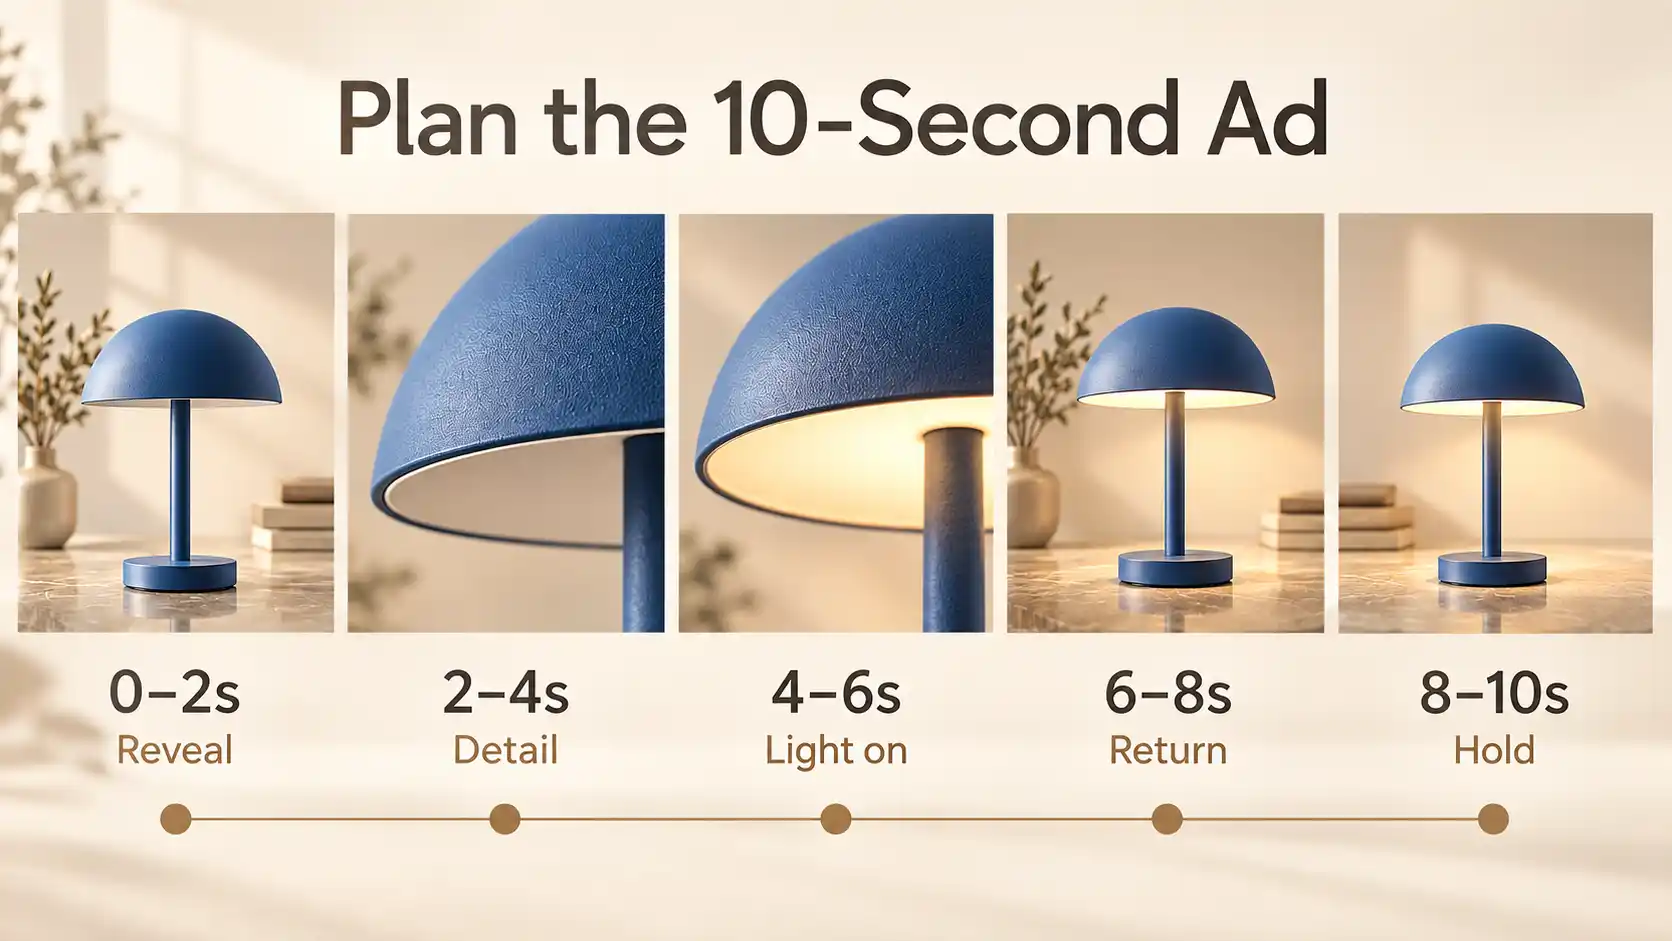
For an AI product ad storyboard, a compact table can expose problems that a long paragraph hides. Does the light switch on before the detail shot? Is there enough time to read the ending?
Here is an original ten-second plan for the lamp:
Time | Product and camera | On-screen copy | Rhythm |
0–2s | Whole lamp is visible immediately; camera begins a gentle quarter-orbit | None | Establish the design |
2–4s | Cut closer to the shade; camera movement slows | None | Let the material register |
4–6s | Warm light appears beneath the shade and spreads onto the surface | None | Reveal the feature |
6–8s | Return to the closing composition; lamp remains illuminated | “A Little More” appears, then “Warmth” joins on the same line | Introduce the message |
8–10s | Hold the full lamp and complete copy steadily | “A Little More Warmth” | Finish clearly |
These timings are direction for the model, not frame-accurate commands. If the output compresses the ending, remove an earlier event or simplify the transition.
For a color collection, replace a detail beat with a supporting variant entering. Keep the lead product identifiable throughout.
Step 7: Generate the Product Ad with MiniMax H3
Connect the references to a complete, readable prompt.
Open the MiniMax H3 generator, upload your prepared images, and use the interface’s @ reference picker to insert the appropriate files. The page provides duration, aspect-ratio, and resolution controls; choose settings that match your plan.
Describe both what to retain and what should change. H3’s reference prompting guidance distinguishes the role of an asset from the events it guides. A product identity reference and an intended closing composition serve different purposes.
A Compact Product Ad Prompt Template
Create a [duration]-second [aspect ratio] minimalist ad for [product]. Use [hero reference] for appearance, [detail reference] for the relevant close-up, and [closing reference] for the ending. Preserve [specific product features]. Follow this sequence: [timed actions and camera directions]. Display exactly “[copy]” during [time window], using [placement and restrained text motion]. Add [sound direction]. Finish with [closing hold]. Show one full-frame composition at a time, without reference-board layouts or extra objects.
Example: A Minimalist Lamp Ad
Insert the uploaded files where the reference placeholders appear:
Create a 10-second, 16:9 minimalist ad for the matte-blue table lamp. Use [hero image] for its shape, color, and proportions; [detail image] for the shade and finish; and [closing image] for the final layout. Preserve the shade, stem, and base without redesigning them.
0–2s: Show the full lamp immediately. Keep it stationary while the camera makes a gentle quarter-orbit.
2–4s: Cut to the shade detail and slow the camera to a stop.
4–6s: Warm light turns on beneath the shade, softly illuminating the surface.
6–8s: Return to the closing composition. In the open space beside the lamp, fade in “A Little More” in dark gray, then “Warmth” in blue on the same line.
8–10s: Hold the illuminated lamp and the complete text “A Little More Warmth” steadily.
Use a simple off-white background and soft shadows. Add a restrained instrumental pulse with a gentle accent as the light turns on, no vocals. Keep sound present through the final hold and resolve cleanly. No additional text, invented logos, grids, or split screens.
Review the displayed credit cost before submitting. After generation, compare the entire result with the plan, including the final seconds.
Create Your Product Ad with MiniMax H3
Step 8: Refine the Music and Sound
Use sound to guide attention and support the product’s character.
For product ad sound design, choose a clear mood before selecting music:
Match the product’s personality. Soft tones can suit a warm lifestyle product; crisp, restrained percussion can complement a technical design.
Connect sound to key moments. Align a musical accent with the product reveal or feature activation. Leave quieter moments for close-ups and readable copy.
Use effects selectively. Add sounds that fit the action. Avoid loud clicks or mechanical effects for movements that would normally be quiet.
Plan the ending. Choose a music segment that supports the final hold and resolves naturally. Check for abrupt cuts, silence, or overlapping tracks when replacing audio.
For the lamp, try a soft instrumental pulse with a gentle accent as the light turns on. Keep the final seconds calm so the illuminated product and closing message remain the focus.
Step 9: Check the Ad Before Exporting
Review the deliverable against the brief, not just your first impression.
Use this AI product video quality checklist:
Product: Correct variant, color, proportions, and visible details.
Action: Movement is possible for the real product.
Message: Copy is accurate, complete, and readable.
Format: Duration, ratio, and framing suit the intended placement.
Audio: Sound remains clean and complete through the ending.
Finish: The final frame gives viewers time to recognize the product.
Save the prompt, reference files, and chosen settings with the approved export. That makes later revisions easier to reproduce.
Common Problems and Quick Fixes
Change the instruction that caused the problem.
The Product Changes Shape or Color
Check whether the references disagree. Remove the conflicting image and name the exact feature that must stay fixed, such as the blue finish or the shade-to-stem proportion.
The Mechanism Moves Incorrectly
Use a detail photo showing the real connection. Reduce the requested movement to a single, physically plausible action rather than a complex opening sequence.
Text Is Distorted or Missing
Shorten the line, reduce text appearances, and request a steadier composition. If exact lettering remains unreliable, add the approved copy in an editor after generating a clean version without text.
A Grid or Reference Board Appears
Replace composite references with standalone images. State that the video should borrow the product appearance, not reproduce labels, borders, or the reference layout.
The Ending Feels Rushed
Remove a secondary action and allocate more of the clip to the closing composition. Avoid asking for another camera move during the reading hold.
Music Drops Out or Ends Too Early
Check the audio clip length and edit points. Use a continuous replacement segment that covers the full video, then review the exported file with sound.
Explore MiniMax H3 Prompt Guide
Make Your First Minimalist Product Ad
Start small, then refine what viewers notice.
Choose one product photo, one visual idea, and a short sequence.
Build clear references, direct the important movement,
Review the result before expanding into more variants or formats.
Turn Your Product Images into Video
MiniMax H3 Product Ads FAQs
Can I Start with Only One Product Photo?
Yes, particularly for a simple camera move around a visible front or three-quarter view. Supply additional real views when the concept depends on hidden details; newly generated angles still need verification.
Do Minimalist Product Ads Need a Person or Voiceover?
No. A product-focused ad can communicate through appearance, movement, short copy, and sound. Add a person when human interaction explains something the product alone cannot show.
Can I Reuse the Workflow for Different Products?
Yes. Reuse the planning structure, but change the action, message, and references. A lamp lighting up and a bag opening require different visual instructions.
Should I Create Vertical and Horizontal Versions Separately?
Plan each composition when the product and copy need different positions. A centered subject may tolerate cropping, but an off-center product with side text often benefits from a dedicated version.