Creating natural talking videos means paying attention to the photo, the recording, and how you present the finished clip. This MiniMax H3 Lip Sync tutorial walks through that process, with simple comparisons you can use to decide what works for your project.
TL;DR: MiniMax H3 Lip Sync Guide
Choose a clear portrait with a visible mouth and an expression that fits the message.
Prepare a recording that sounds natural on its own, with clear words, comfortable pacing, and meaningful pauses.
Test a short passage first. Compare one change at a time instead of replacing every input together.
Check facial stability and speech timing before adding captions or other finishing touches.
What Is MiniMax H3 Lip Sync?
Your photo. One voice. Up to 15 minutes of video.
MiniMax H3 Lip Sync is a specialized model in the MiniMax H3 family, designed to animate a still image with mouth movements synchronized to your audio.
Upload one portrait and one recording to create talking videos from 5 seconds to 15 minutes, with output up to 2K. The video follows your audio’s duration, making it useful for both quick introductions and longer explanations, without splitting every message into short clips.
No text prompt is needed: your photo defines the presenter, and your recording supplies the voice and delivery.
How to Set Up a AI Talking Video
Start small so you can see what needs changing.
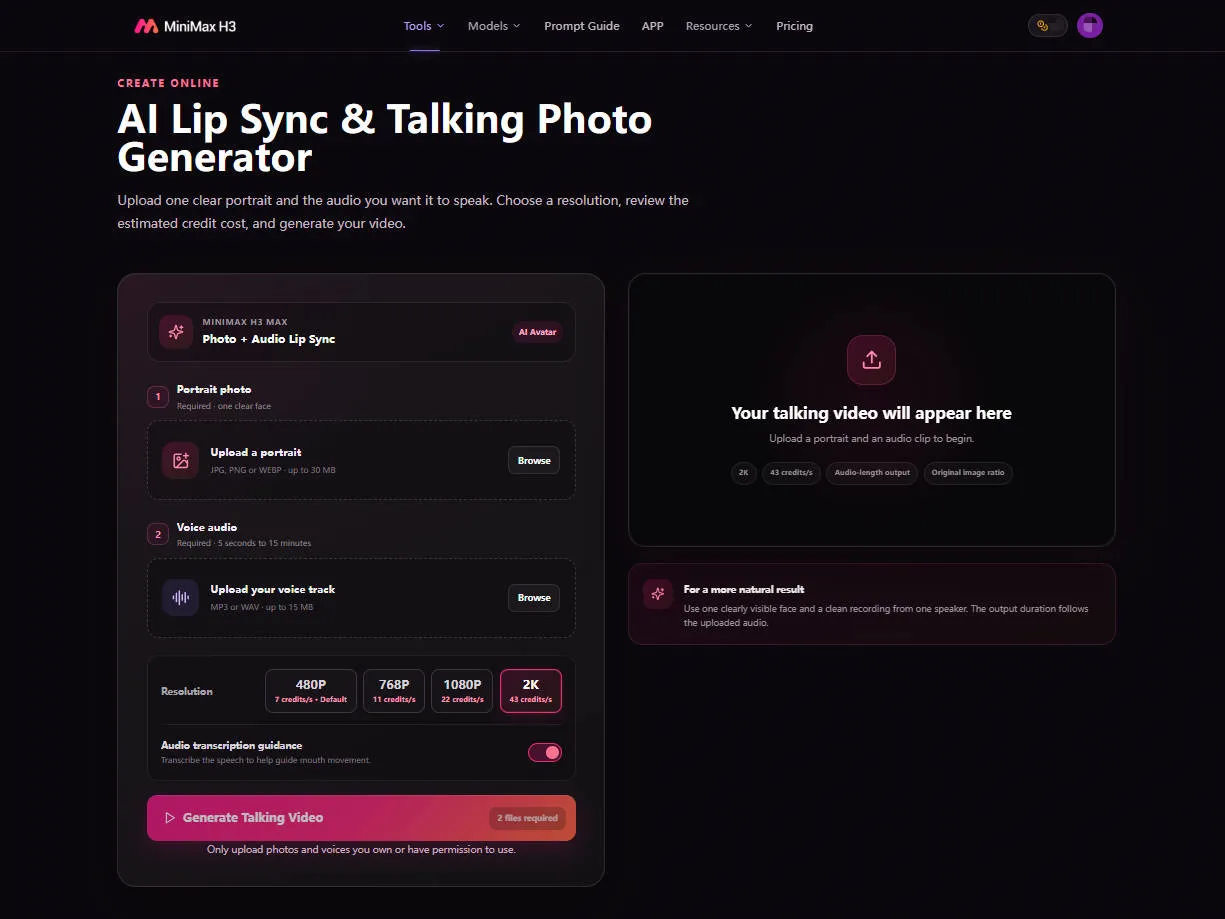
MiniMax H3 Lip Sync uses one still image and one audio track to create a talking video.
Your photo establishes the presenter and setting.
Your recording supplies the voice and timing.
No text prompt is required.
For your first test, choose a short introduction rather than a full presentation:
Hi, I'm Alex. Today, I'll show you a simple way to organize your ideas and get your next project started.
Use a photo and voice you own or have permission to use, then follow these steps:
Upload your portrait. The page accepts JPG, PNG, or WEBP images up to 30 MB.
Upload your recording. Use MP3 or WAV audio up to 15 MB, between 5 seconds and 15 minutes long.
Choose a resolution. The available options are 480P, 768P, 1080P, and 2K. A lower-resolution test can help you assess the overall performance; review fine facial detail at your intended publishing resolution.
Check the estimated credits and generate. Play the result with sound before deciding what to adjust.
The output duration follows the supplied audio.
Create Your First Talking Video
How Your Photo Changes the Result
Choose a frame that helps the viewer connect with the speaker.
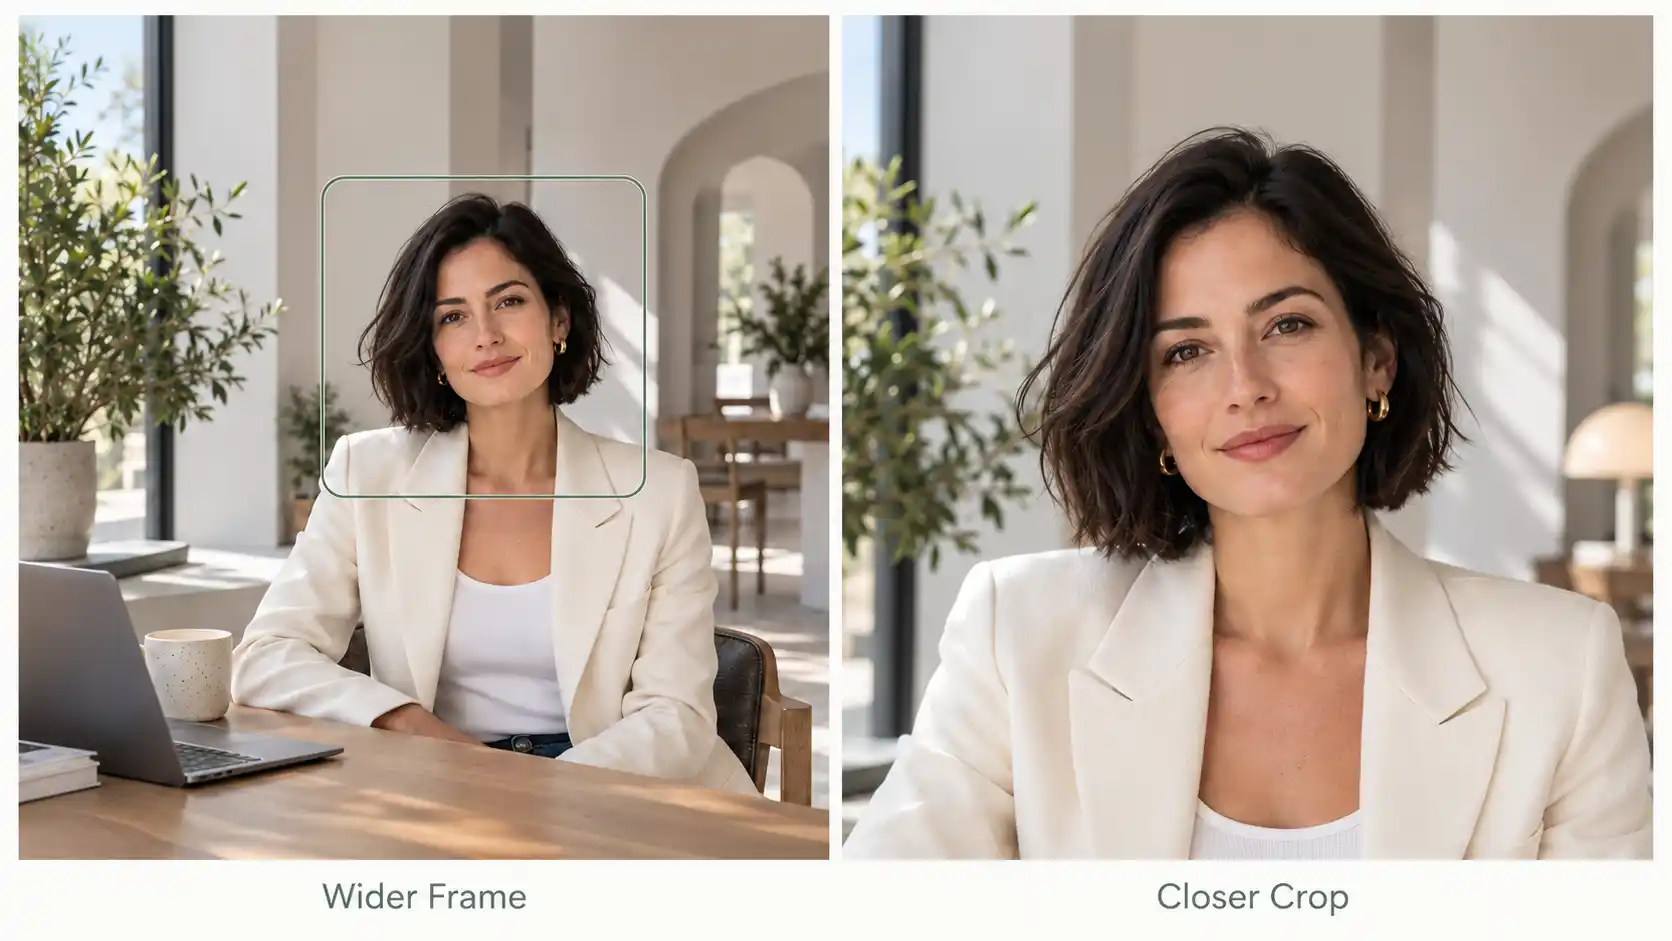
A useful way to choose the best photo for a talking avatar is to compare two versions of the same portrait with the same audio. Keep the resolution and transcription setting unchanged so the framing is the main difference.
Compare a Wider Portrait with a Closer Crop
Watch both clips at the size your audience will actually see them. Ask:
Can you read the mouth movements and expressions without zooming in?
Does the background help explain the message or compete with the face?
Does the speaker feel appropriately close for a personal introduction, lesson, or announcement?
A closer frame makes expressions easier to inspect, but it also makes artifacts more noticeable.
A wider frame provides context, although a very small face can be difficult to read on a phone.
Choose the version that suits the message rather than assuming the largest face always wins.
Match the Portrait to the Message
Once the framing works, consider the person's expression and setting.
A relaxed portrait may suit a friendly welcome
A more neutral expression may fit a serious explanation.
Keep the mouth uncovered and avoid extreme side profiles for an initial test. If you later change the pose or expression, treat that as a separate comparison. Otherwise, you will not know which change affected the result.
💡 Practical takeaway:
Establish the framing first, then refine the portrait's mood. Keep your preferred image as a reference for future tests.
How Your Voice Changes the Performance
Make the recording worth listening to before animating the photo.
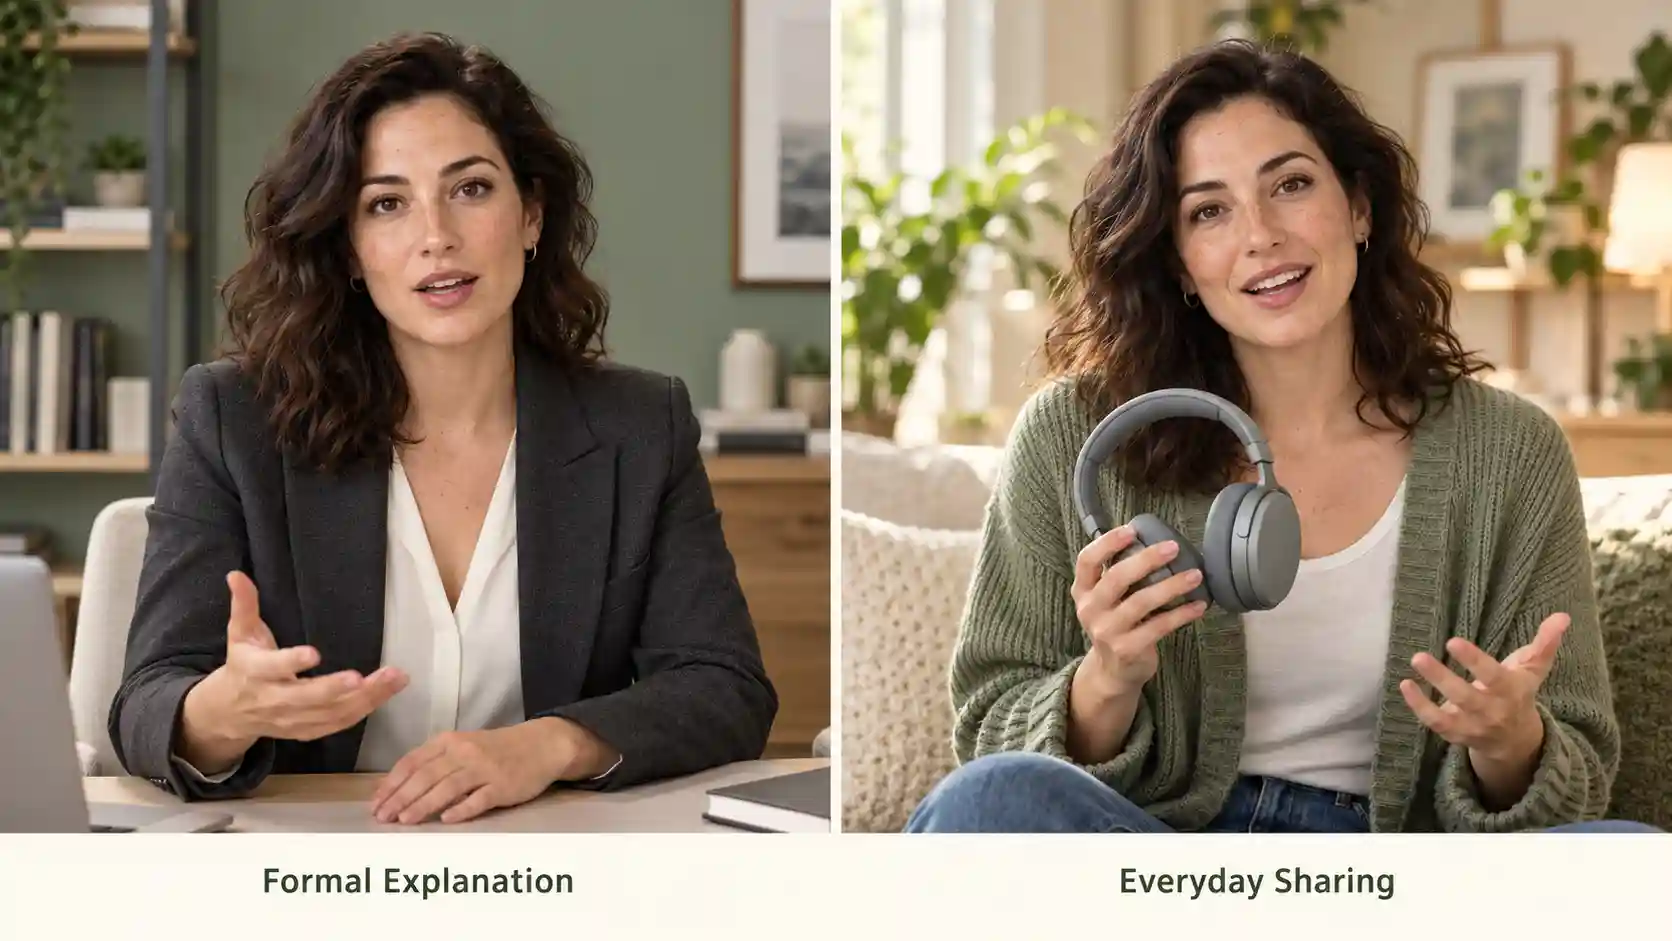
To prepare audio for lip sync, begin with delivery as well as sound quality. A technically clean recording can still sound rushed or detached.
Compare Two Readings of the Same Script
Keep your chosen portrait and record the same introduction twice.
In the first version, read it evenly.
In the second, speak as if you are explaining it to one person, allowing natural pauses and emphasis.
Listen to the audio files before generating either video.
Which version sounds easier to follow?
Does the emphasis land on the useful words?
Does the final sentence finish naturally?
Then compare the talking videos.
Watch the start of each phrase, pauses between sentences, and the final words.
Check whether the face and voice feel coherent.
Do not assume a more expressive recording will produce a specific smile, head turn, or gesture; assess what the model actually generates.
Keep Speech Clear Without Removing Its Rhythm
Use one clearly audible speaker. Reduce distracting noise, strong echo, clipping, and overlapping voices.
Leave enough space between ideas for the listener to follow, while trimming accidental long gaps.
If you use AI-generated audio, check names, abbreviations, and numbers before uploading. For a talking avatar with your own voice, choose a take that sounds comfortable rather than forcing an exaggerated presenter voice.
If the final video needs background music, consider adding it during editing so you can adjust its level independently.
💡 Practical takeaway:
Choose a recording you would be happy to publish as audio alone. Generation should not be your first chance to discover a mispronounced word or awkward pause.
Realistic Faces and Stylized Characters
Keep the character recognizable while it speaks.
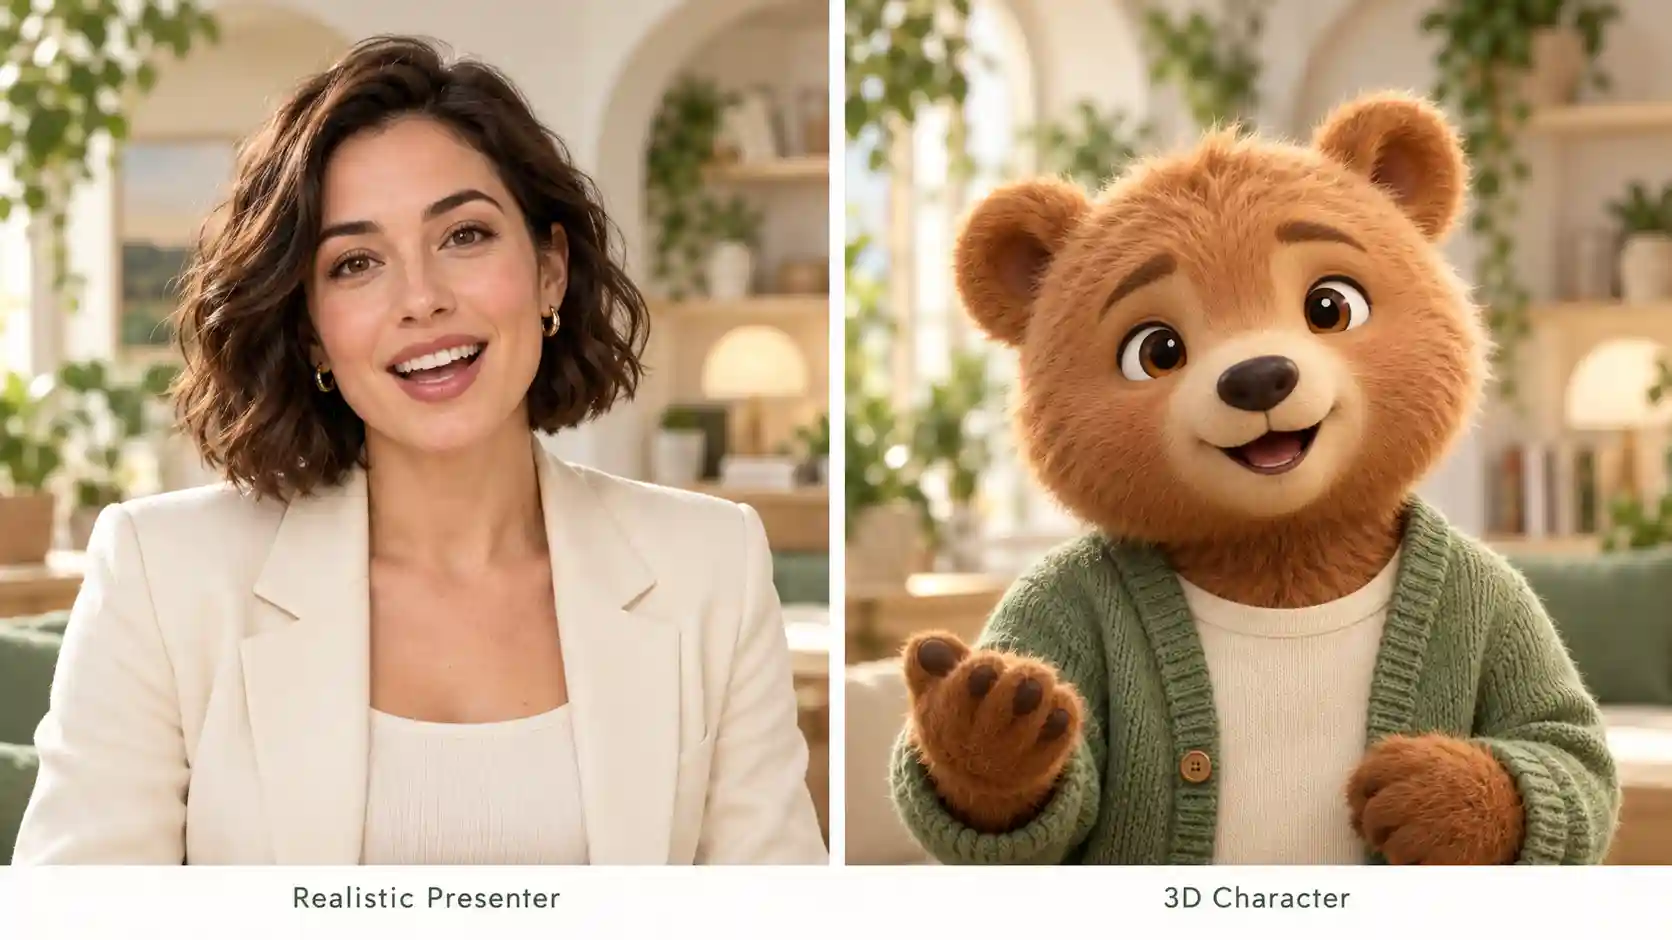
A natural-looking talking video does not have to use a photorealistic person.
An illustrated presenter or stylized animal can feel convincing when the voice, facial movement, and visual style fit together.
Treat these as different creative choices rather than a contest over which is more realistic. Use a short, clear line to explore each, and judge the result against the intended character.
For a Realistic Presenter
Check whether the face remains recognizable throughout the clip.
Pay attention to the lips, teeth, jawline, and eyes, especially when speech begins or the mouth opens wider.
Watch at normal speed first. Pause where something looks distracting to identify the issue. A clean still frame does not tell you whether the full performance feels believable.
For a Stylized Character
Choose a design with a clearly readable mouth. Inspect whether the animation preserves its distinctive features and whether the mouth movement belongs to the same visual style as the rest of the face.
A character with an unusual muzzle or simplified facial features deserves a short test before a longer recording. Do not assume a successful human portrait guarantees the same result for every character design.
💡 Practical takeaway:
Match the voice to the character, then check identity and mouth movement together. Keep the version that communicates the message clearly without distracting visual changes.
From a Talking Clip to a Finished Video
Make the message easy to watch from beginning to end.
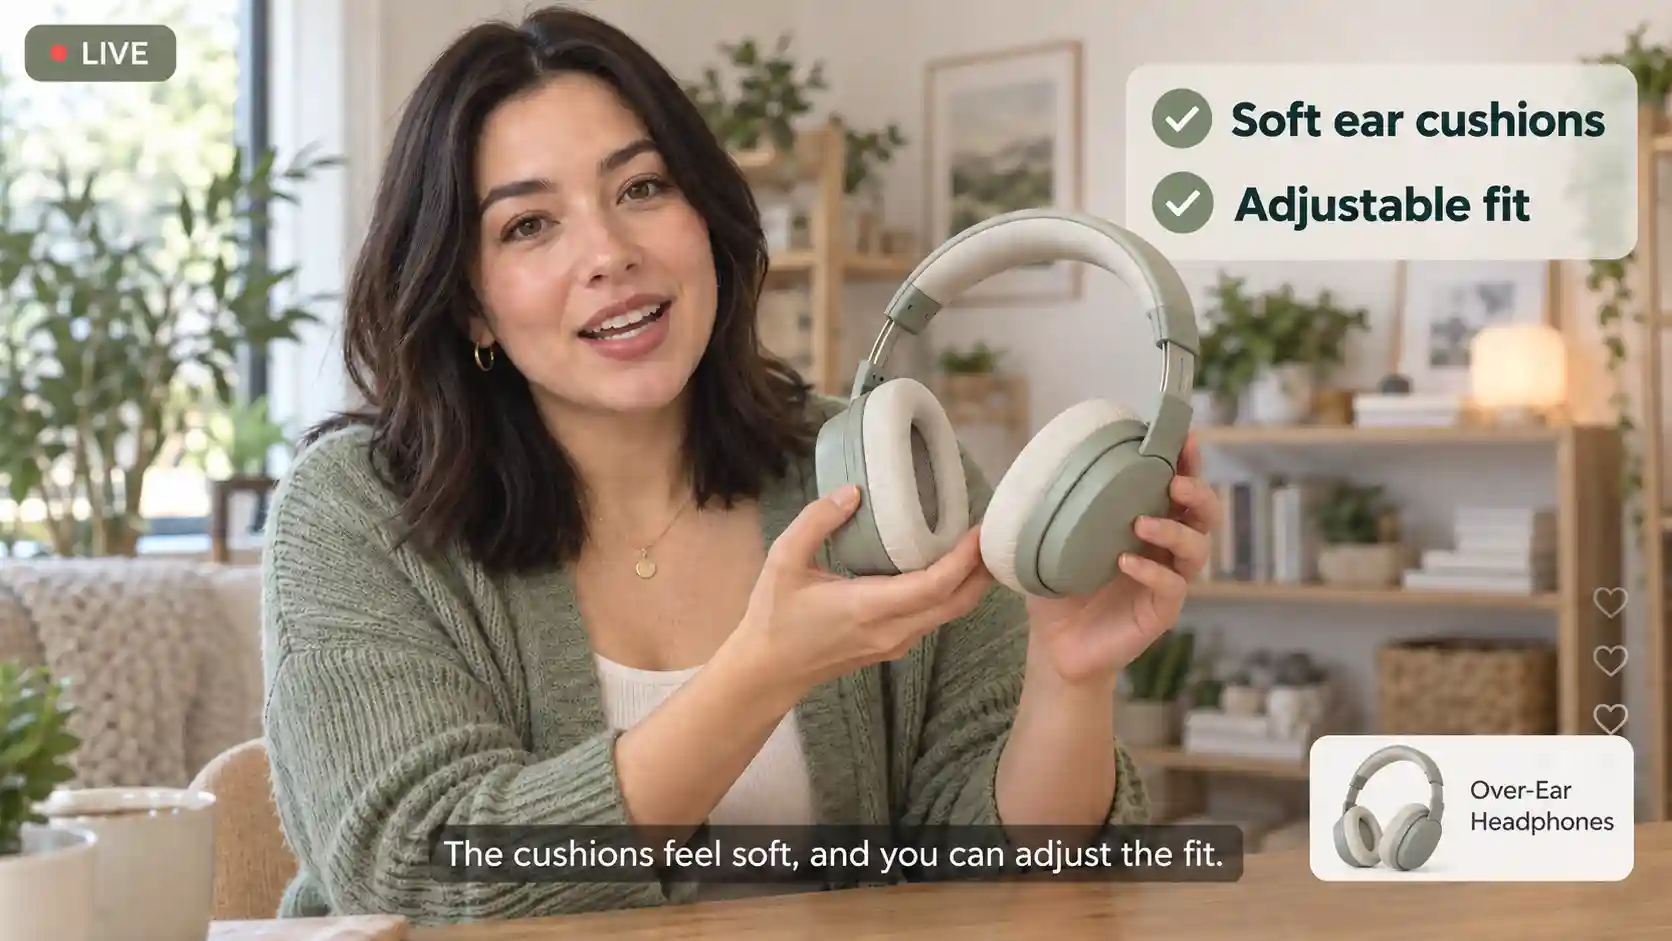
Once a short test works, generate the complete recording. Longer talking videos need a full review: a good opening does not establish the quality of every later sentence.
Check the Beginning, Middle, and End
Watch the entire video with sound, paying particular attention to phrase boundaries, faster passages, and pauses.
Check that the face remains consistent and that the mouth movement continues to fit the speech.
If a section looks wrong, note its timestamp and listen to that part of the source audio. This helps you decide whether to improve the recording, try another portrait, or regenerate.
Change one input at a time where possible.
Compare the Raw Clip with an Edited Version
Make a second version of the same clip in a video editor.
Trim unnecessary lead-in time, add readable captions, and include relevant supporting visuals where they help explain the message.
For a tutorial, show the screen being discussed.
For a product introduction, show the product when the speaker mentions it.
Keep captions away from the mouth and preview the layout on a phone.
Compare the two versions:
Is the message easier to follow?
Does each cut serve a purpose?
Is the voice still clear over any music?
These are editing steps outside the lip-sync generator. They can improve pacing and clarity, but they do not repair incorrect mouth movement or unstable facial details. Address noticeable generation problems before polishing the clip.
💡 Practical takeaway:
Use editing to support a good performance, then review the exported video once more.
AI Talking Video Creation Ideas and Tips
Give each video one clear purpose.
Product introductions and updates
Explain a feature or announce what’s new with a recognizable presenter.
Tip: focus on one benefit, then add product footage during editing to show what the speaker describes.
Lessons and training videos
Use longer recordings for explanations, onboarding, or lesson summaries.
Tip: structure the script into clear sections and support detailed points with slides or screen recordings.
Social posts and personal messages
Create short introductions, greetings, or community updates.
Tip: begin with the useful or interesting part, keep the delivery conversational, and preview the video on a phone.
Character storytelling
Give an illustrated character or stylized mascot a short monologue.
Tip: choose a clearly visible mouth and a voice that fits the character; test a short line before a longer performance.
Content in different languages
Reuse a presenter image with separately prepared recordings for different audiences.
Tip: check pronunciation and lip synchronization for each version. Prepare translated audio before uploading; the lip-sync tool does not translate it for you.
Start Creating Your AI Talking Video
Start with one portrait and one short recording.
Compare framing, compare delivery, and keep the combination that best fits your message.
Once the performance works, build the longer version and finish it for your audience.
Make Your Photo Talk with MiniMax H3 Lip Sync
MiniMax H3 Lip Sync FAQs
Can higher resolution fix unnatural lip movements?
Higher resolution is not a guaranteed fix for timing or facial motion. Use it to assess visual detail, and inspect the portrait, recording, and generated performance when movement looks wrong.
Can I control gestures with a text prompt?
The current MiniMax H3 Lip Sync page does not include a text prompt field. It takes a photo and audio track, so do not plan around precise gesture commands in this workflow.
Should I change the photo or the audio first?
Listen to the recording separately. If it sounds rushed, unclear, or awkward, address that first.
If the speech sounds good but the face is obscured, too small, or visually unsuitable, test another portrait. Keep other settings unchanged where possible.
Do I need to regenerate the whole video for a small mistake?
An unwanted pause may be removable in an editor.
A visible facial distortion or mismatched mouth movement may require another generation with revised inputs.
If you replace only a section, check the join for changes in appearance, motion, and sound.